
This time, I started the messy work in the basement near and over the sink so that I would not have to scrape dried flour/glue residue from the floor afterwards like last year. It worked out much better for me for clean up. I found a roll of newspaperish paper in our craft supplies and used that as the first layer to try to make it crunchy.
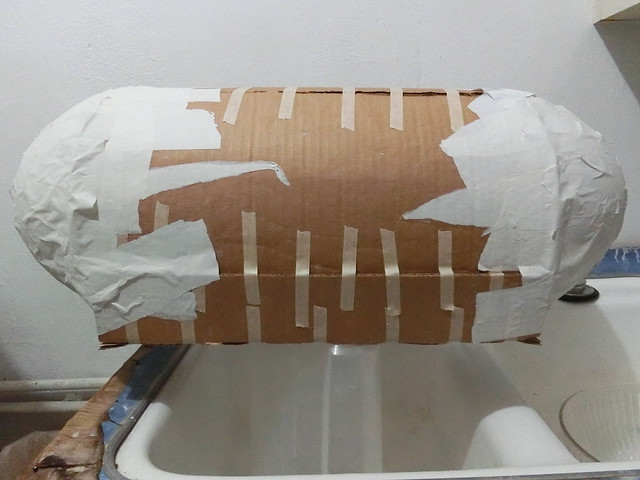 |
| First layer of papier-mache dried |
For the second layer, I used more tissue paper to cover the cardboard to make it crunchy. I was hoping to make it easier to break...
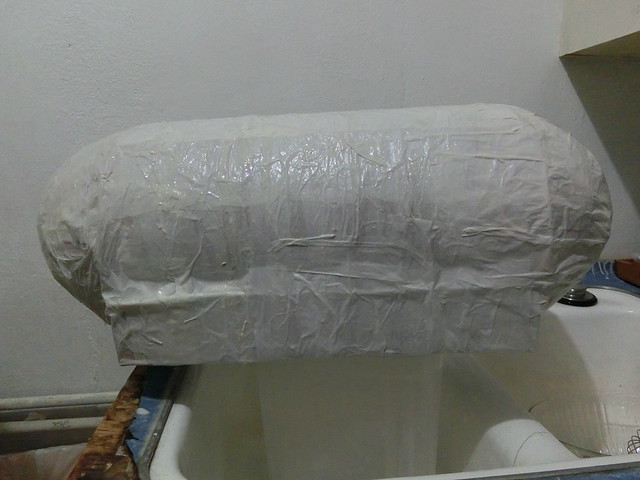 |
| Second layer of papier-mache |
 |
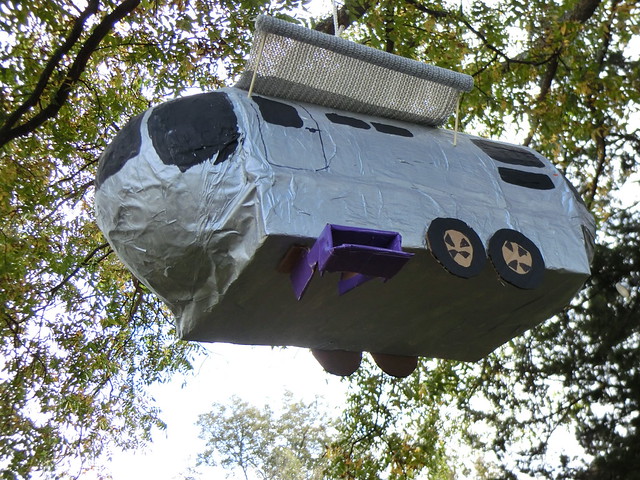
| In need of accessorizing... |
I found some coolaroo shade material in the sun room and together with some toothpicks, made a little canopy for the camper. Using cardboard and purple duct tape, I fashioned some steps. I painted on windows and the door and called it a day.
 |
| Crude, maybe, but my baby girl loved it... |
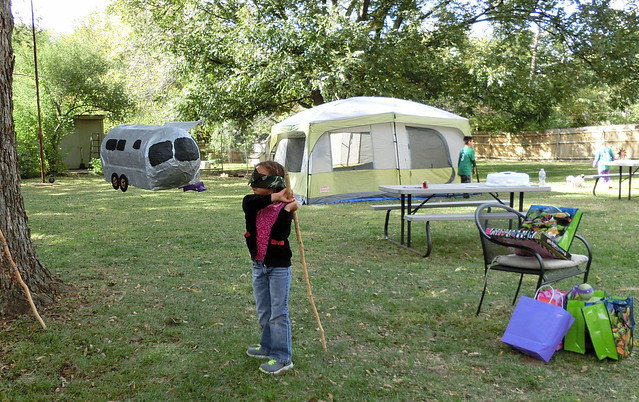
Look at her excitement!
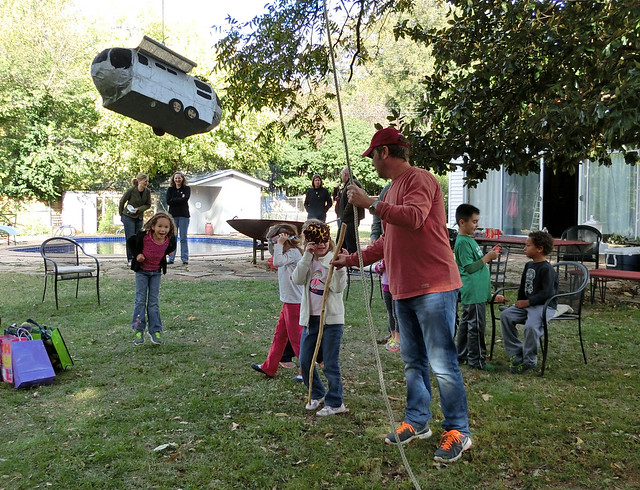 |
| Missing the steps and a tire but STILL holding up... |
I wonder what our next pinata project will be...
No comments:
Post a Comment
I would love to hear back from my readership (all 2 of you) so please don't be afraid to say "hi" or comment!